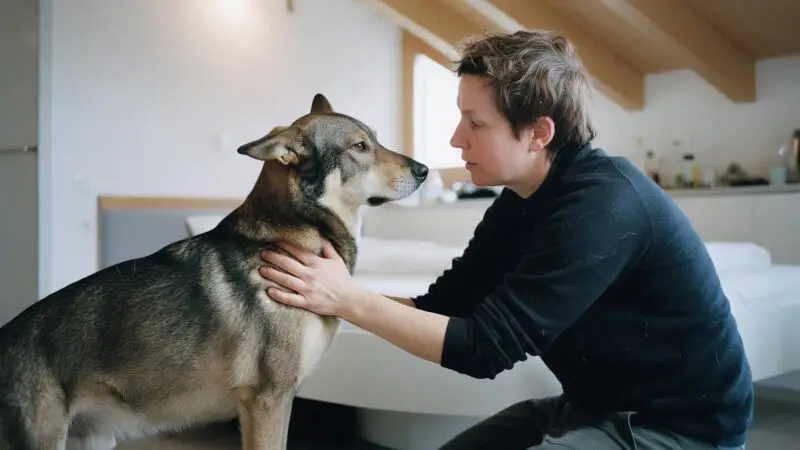
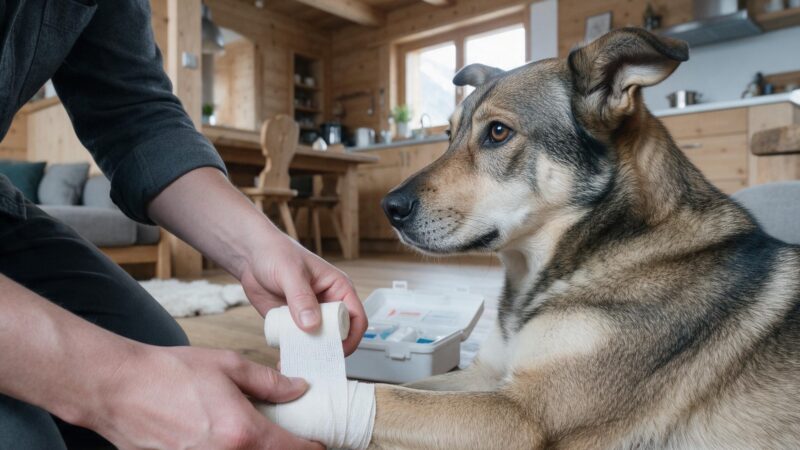
How do you provide first aid for a dog?
Step 1: Check safety – yours and theirs
Before you touch an injured dog, check that there are no further dangers. Are cars still driving past? Wait for safety. Is the dog aggressive? Do not catch it alone – call for help. Even a gentle dog can bite in fear if it is injured. A quick lead protects you better than spontaneous action.
Step 2: Call the vet – immediately
Before you take further measures, call your emergency vet and announce the emergency. This allows the practice to prepare. A clear goal also gives you structure: “I am driving there now.”
Step 3: Check airway
Carefully open the dog’s mouth and check whether foreign bodies, vomit or blood are blocking the way. Remove visible objects with your finger, but do not reach deep inside. Tilt the head slightly back to clear the airways.
Step 4: The stable lateral position
Turn your dog flat onto its right side. The head must form a line with the spine – not twisted. Extend the front and hind legs. The head must be the lowest point (the neck slightly lowered) so that fluid can run out of the mouth. This prevents vomit from entering the lungs.
Step 5: Check breathing and pulse
Look at the chest – is it moving? Feel for the pulse on the inside of the thigh (femoral artery). A normal heartbeat is fast – 50–100 beats per minute at rest, faster under stress. If pulse and breathing are absent, resuscitation is necessary.
Step 6: Cardiopulmonary resuscitation (if necessary)
Kneel next to the dog at chest height. Find the elbow – it lies approximately in the middle of the ribcage. Place a heel of your hand about 5 cm behind this point on the chest. With straight arms, press the chest vertically downwards – not diagonally, not back and forth. Press with full force 30 times in succession, quickly, about 2–3 times per second. The ribs will feel as if they are giving way under pressure – this is normal and necessary.
Step 7: Ventilation (if trained)
After 30 compressions, hold the dog’s lips firmly with both hands and blow air gently into the nose (mouth-to-nose ventilation). Two full breaths. The chest must rise slightly. Then another 30 compressions, two ventilations – repeat. If you are not trained or feel uncomfortable, focus only on compressions. Blood flow is more important than ventilation.
Step 8: Continue until you reach the vet
Continue with 30:2 (30 compressions, 2 breaths) until the dog has a pulse and is breathing again or until you are at the veterinary clinic. This is exhausting – ask for help if someone else is there to take over.
Step 9: Transport
If your dog is breathing again, keep it in a stable lateral recumbent position and drive immediately to the emergency vet. If not, drive anyway and continue CPR in the car – ideally with a helper driving. Many emergency cases are resuscitated in the car and survive.
Wound care in an emergency
Stop bleeding
For bleeding wounds: Press sterile or clean cloths onto the wound and hold them there until the bleeding subsides. Do not keep checking – this disrupts blood clots. Check after 5–10 minutes. For severe bleeding, apply a pressure bandage or an elastic band above the wound if possible – saving a limb is better than losing an animal to blood loss.
Clean the wound
Rinse with clean water or sterile saline solution. No alcohol or iodine – both are too aggressive for wound healing. Pat dry with clean cloths. Apply a bandage – not too tight. The dog needs sufficient blood circulation.
Foreign bodies
If a foreign body is stuck in the wound (splinter, glass, metal), do not remove it yourself if it is deeply embedded. This can trigger heavier bleeding. Leave this to the vet. You can remove small superficial splinters with tweezers.
Airway obstruction (Heimlich manoeuvre)
A dog that is gagging, choking and cannot bark has a blocked airway. Open the mouth and look for foreign bodies. If visible and loose, remove them. If deep or stuck: Position your dog standing in front of you, belly facing up. Place your fists directly below the ribcage and press suddenly and firmly upwards and backwards (towards the head). Repeat 3–5 times. Then check the mouth again. If the foreign body comes out, good. If not, drive immediately to the vet – every second counts.
Dog first aid courses in D/AT/CH
Pure theory is not enough – you need practical training. Dog schools, animal welfare organisations and veterinary clinics offer appropriate courses. In Germany, search for ‘dog first aid course’ with local animal welfare associations or dog clubs. It works similarly in Austria and Switzerland. A 3–4 hour course costs around 30–60 euros and can save your dog’s life.