
DIY Agility Course: How to Build Your Own Training Course at Home
Content
An agility course in your own garden need neither cost a fortune nor require professional DIY skills. Anyone who has seen their dog dart through self-built obstacles with bright eyes knows: The effort is worth it, and often ordinary household materials that you already have lying around end up being used.
Construction instructions for simple agility obstacles
Hurdles:
- Material: PVC pipes, connectors and a simple plastic rod as a crossbar.
- Instructions: Cut the pipes to the desired jump height, assemble them into a stable frame with the connectors. Insert the crossbar loosely so that it falls out upon contact rather than stopping the dog.
Tunnels:
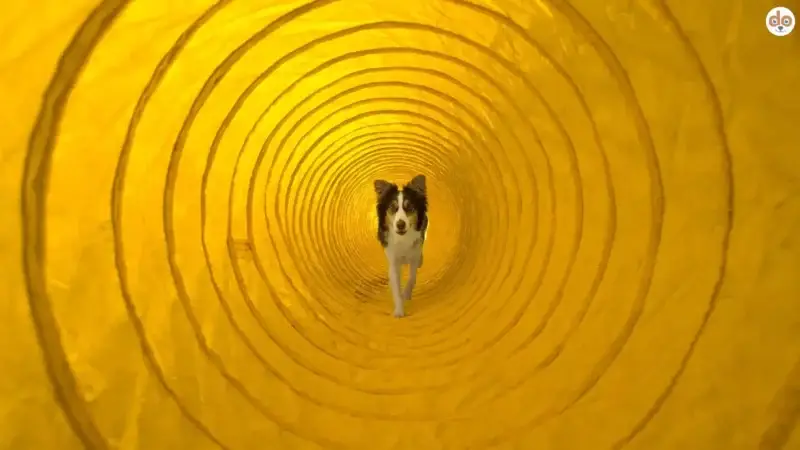
- Material: A large, flexible plastic hose (e.g. a ventilation hose from a hardware store) or a tunnel made of robust fabric.
- Instructions: Lay the hose flat on the ground and secure both ends with grommets or weights so that it does not slip. For those who want to do less DIY: A commercially available children’s play tunnel works surprisingly well and can be set up in minutes.
Slalom poles:
- Material: Wooden or plastic poles and earth spikes for securing.
- Instructions: Stick the poles into the ground at even intervals of around 60 cm. Shake them briefly before the first training session; if they give way when pressed by hand, they need to be set deeper.
A-Frame:
- Material: A board about 3 to 4 metres long, plus stable wooden blocks or bricks as supports.
- Instructions: Place the board on the supports so that it hovers 30 to 40 cm above the ground. Be sure to check whether it rests firmly; a wobbling board is a safety risk, not a fun factor.
Seesaw:
- Material: A board and a round timber as the pivot axis.
- Instructions: Attach the round timber centrally underneath the board so that both ends tip up equally. Testing the balance beforehand spares the dog nasty surprises when crossing it for the first time.
Safety tips for building agility equipment yourself
Before the dog takes on the course for the first time, you should critically inspect every structure once, preferably with the eyes of a dog at ground level:
- Check stability: No piece of equipment must wobble or tip over. It is better to push against the structure one more time than to experience a nasty surprise in the middle of training.
- Select materials: Use only dog-safe materials. Sharp edges, protruding nails or pointed ends have no place in the course, even if you can hardly see them yourself.
- Non-slip surfaces: The walkway and teeter must be fitted with a non-slip surface. Rubber mats or carpet remnants serve well here and can be cut to size cheaply.
- Adjust heights: Adapt the obstacle height to the dog’s size and training level. A hurdle that is too high does not motivate a beginner; it intimidates them or, in the worst case, leads to a strain.
- Regular maintenance: Wood swells, plastic becomes brittle, screws loosen. Carry out a brief visual check before every session and carry out repairs immediately.
- Supervision: Never leave the dog alone in the course. Only someone present can intervene in good time if something tips or gets stuck.
Creative ideas for space-saving courses in your own garden
Even those with only a narrow strip of garden do not have to forego variety; it just takes a bit more imagination when arranging the equipment:
- Modular obstacles: Build or buy obstacles so that they can be moved and rearranged quickly. With the same six elements, different routes can be created every week.
- Combined obstacles: One piece of equipment, two tasks, for example a tunnel that simultaneously functions as a jump-off ramp on the other side.
- Vertical use: Those who build upwards rather than outwards gain floor space. Small ramps or hanging tyres require hardly any standing room.
- Foldable equipment: Hinges cost little but save a lot of space after training. Foldable obstacles lean flat against the house wall or fit into the tool shed.
- Path along the garden edges: Run the course along the edges so that the middle of the lawn remains free for other activities.
Budget-friendly alternatives to professional agility equipment
Good agility training and an empty wallet are not mutually exclusive; often the material is already lurking in the cellar, garage or garden shed:
- Repurpose household items: Broom handles as slalom poles, buckets as markers, hula hoops to jump through. An upside-down stable table can even serve as a platform for jumping onto.
- Use DIY stores and garden centres: PVC pipes, wooden battens and plastic sheeting are available there at reasonable prices; a complete course from the DIY store often costs less than a single branded obstacle.
- Second-hand purchases: On online marketplaces or at dog club flea markets, you can often find well-maintained equipment for a fraction of the new price. This is particularly worthwhile for teeters and walkways.
- DIY kits: Individual manufacturers offer kit sets that are cheaper than finished equipment and include all parts with instructions, practical for anyone who does not want to measure at the DIY store themselves.
- Instructions online: Numerous step-by-step videos show the construction of various obstacles, often with a material list and cost estimate.